Do one of the following.
Method 1:
Click File on the Action Calendar's menu bar.
Select New.
Select Area.
Method 2:
Click the Popup
menu button ![]() , to the right of the Area
dialog box.
, to the right of the Area
dialog box.
Select New.

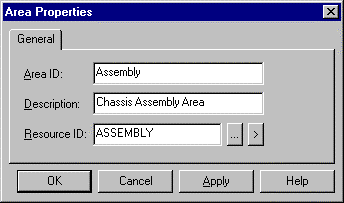
Enter the following information in the Area Properties dialog box:
|
Area Id |
The name of the area, 15 mixed case characters or less. |
|
Description |
A 40 character or less description used by you to provide more information about the area. |
|
Resource ID |
The Resource ID to use for the area. Resources can be used to implement access control for the user interface. If you don't know yet what sort of security you will implement, select the $SYSTEM resource. The configuration can always be changed later. |