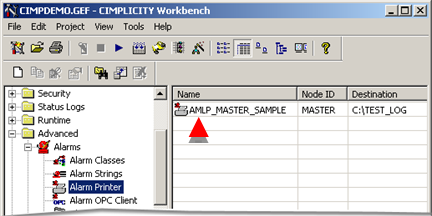
Select the Alarm Printer icon in the Workbench left pane.
Open a New Alarm Log Printer dialog box..
Enter the printer name in the Name field
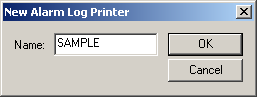
Click .
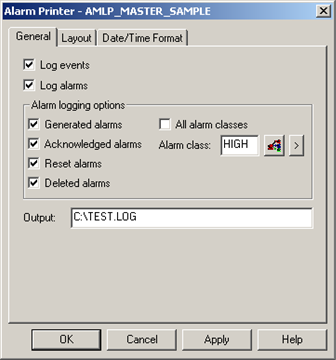
The Alarm Printer dialog box opens.
Check the check boxes and enter fields to do the following.
|
Option |
Description |
||
|
Log events |
Sends logged events to the specified printer or file. |
||
|
Log alarms |
Enables alarm logging options. Types of logged alarm that can be checked are:
|
||
|
|
|
Checked |
Sends logged alarm data to the specified printer or file. Note: Check all logged alarm check boxes if you are working with the SAMPLE program. |
|
|
|
Clear |
Ignores the logged alarms. |
|
|
All alarm classes |
||
|
|
|
Checked |
Sends data for all alarm classes in the selected categories to the specified printer or file. |
|
|
|
Clear |
Enables Alarm Class. Sends data for the selected alarm class in the selected categories to the specified printer or file. |
|
Output |
Name of the device or path and file to which the data will be sent. Example Enter c:\test.log |
||
|
|
|
|
|
Click .
Result: The Alarm Printer dialog box closes. The printer name displays in the Workbench right pane.
Click Project>Configuration Update on the Workbench menu bar.
|
|
Step 2. Run the Sample Program. |