Click on the Virtual Directory Creation Wizard's Welcome dialog box.
The Virtual Directory Creation Wizard’s Virtual Directory Alias screen opens.
Type in some alias name for the virtual directory.
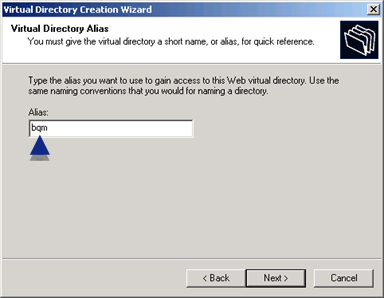
Click .
The Web Site Content Directory screen opens.
Click .
Select \...CIMPLICITY\webpages\<virtual directory>.
Where
...CIMPLICITY is the location of your CIMPLICITY installation.
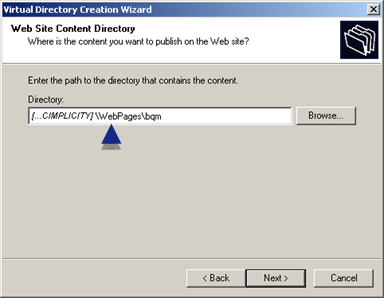
Click .
The Access permissions screen opens.
Check the following options.
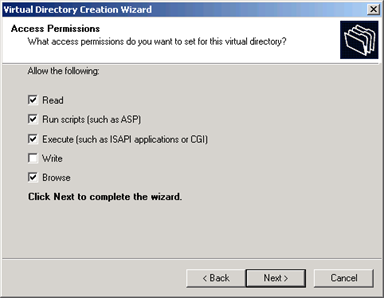
![]() Read
Read
![]() Run scripts (such as ASO)
Run scripts (such as ASO)
![]() Execute (such as ISAP applications
of CGI)
Execute (such as ISAP applications
of CGI)
![]() Browse
Browse
Click .
The Virtual Directory Creation Wizard’s You have successfully completed the Virtual Directory Creation Wizard screen opens.
Click .
Result: The virtual directory you created displays in the Default Web Site list.

|
|
Step 3. Create a Virtual install directory. |