Do one of the following.
Save an existing file
Method 1
Click File on the WYSIWYG Editor menu bar.
Select Save or Save as.
Method 2
Click the button
![]() on the WYSIWYG Editor
toolbar.
on the WYSIWYG Editor
toolbar.
Method 3
Press Ctrl+S on the keyboard.
Result: The changes made to the existing file are saved. This is all that is required for this option.
Save a new file
Choose any of the three methods you use to save a new file.
Result: The Save As dialog box opens.
Save an existing file with a new name and/or extension
Click File on the WYSIWYG Editor menu bar.
Select Save as.
Result: The Save As dialog box opens.
Continue to save the new file or save an existing file with a new name and/or extension as follows.
Open the <Project Name>\CIMForms\WYSIWYGForms\Working folder.
Enter a name for the file in the File name field.
Save the file with a .cwf extension.
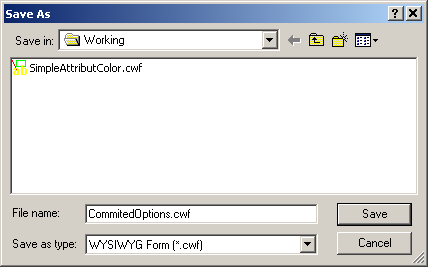
Click .
Result: The form is saved; the name you entered displays on the form's title bar.
|
|
Step 3. Save the WYSIWYG form. |