If you have not already done so, connect to the Project Node and Start WebAccess Configuration.
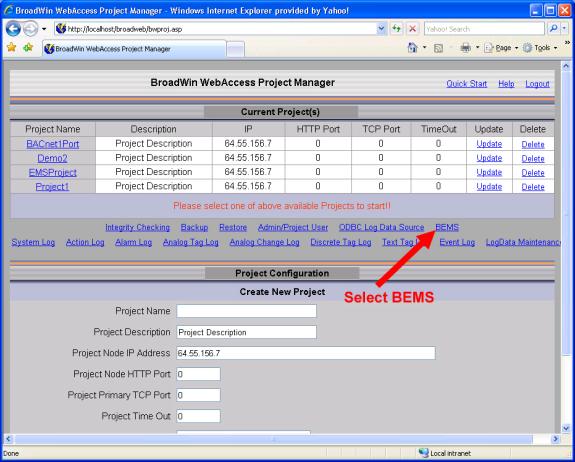
Figure 21.3– BEMS in Project Manager
1. Select BEMS hyperlink in the WebAccess Project Manager to start the BEMS Project Manager.
2. The WebAccess BEMS Project Manager opens (bwMain.asp).
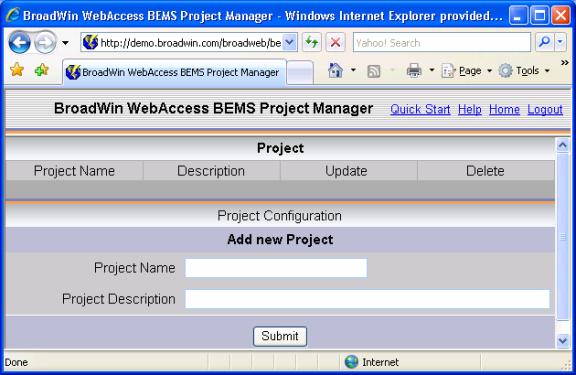
Figure 21.4 – BEMS Project Manager – no projects configured: empty
3. Enter a Project Name.
4. Optionally enter a Descriptions
5. Select Submit.
6. The BEMS Project List page opens (Figure 21.5).
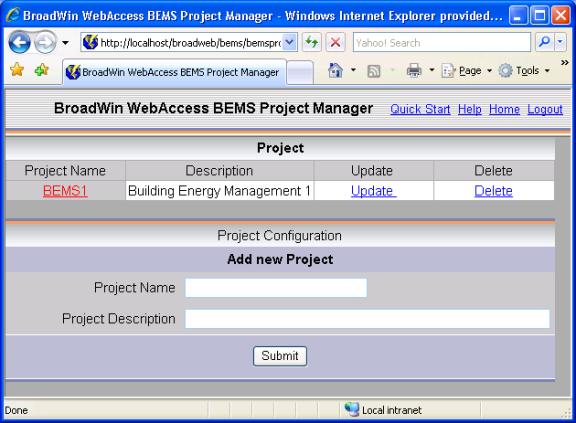
Figure 21.5– BEMS Project List
7. Select the BEMS Project Name (in this example BEMS1) to open the project.
8. The Group List opens (figure 2.8.1).
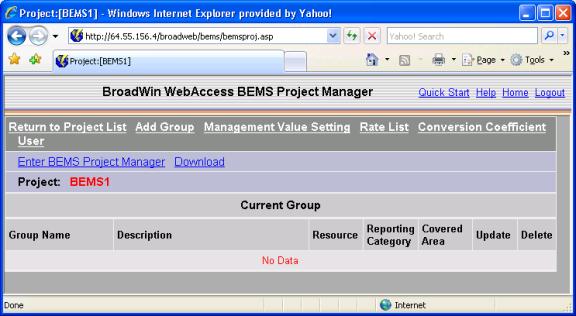
Figure 2.8.1 BEMS Group List – empty- No Data
9. Select Add Group.
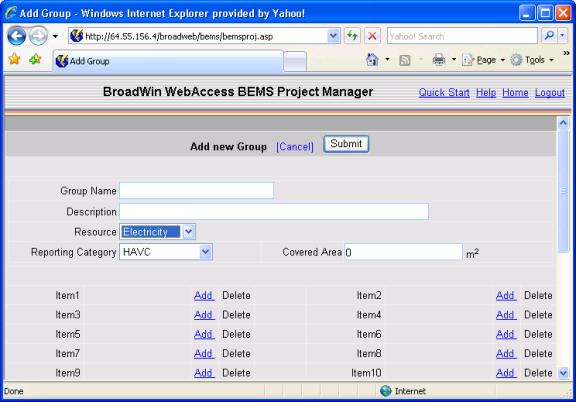
Figure 2.8.2 Add new Group
10. Enter a Group Name. A Group is usually a related set of Energy Items, for example a Building could be a group and each electrical meter in that Building could be added as Items to this Group.
11. Optionally, enter a Description.
12. Select a Resource and Reporting Category. These are used for Reporting purposes on the Statistics Report.
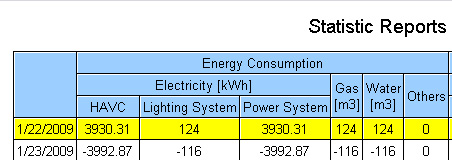
Resource affects which column under in the Statistics Report these energy resources are added : Electricity[kWh], Gas [m3], Water [m3] or Others. Temperature and Humidity are not included in the Statistics Report .
Reporting Category affects which subcolumn under the Electricity Resource in the Statistics Report this energy resources is added: HVAC, Lighting System, or Power System.
13. Its recommended to enter a Covered Area. This is the approximate square meters of floor space this Group covers. It is used to normalize energy use displays by dividing energy use by Area to calculate an Energy Use Intensity (EUI).
14. Press Submit.
Optionally, you could have selected Add next to an Item1, which takes us to the next section. This way we save the data entered in the Group in case we forget later to press submit.