![]()
Select the WebAccess View button from the Welcome Page (figure 3.1).
![]()
OR
Select the Start View link in the Project Manager (figure 3.2)
![]()
OR
Select the Start Draw link in the Project Manager (figure 3.2)
If you can run Internet Explorer 6.0 or 7.0, chances are you can use the WebAccess Client, which is an Active-X Control plug-in to IE 6.0 and IE 7.0. Please refer to section 1.4.3 Client - System Requirements for more information.
If the Client is not already installed,
there are three ways to get the Prompt to Download the Client:
|
|
Select the WebAccess View button from the Welcome Page (figure 3.1). |
|
|
OR Select the Start View link in the Project Manager (figure 3.2) |
|
|
OR Select the Start Draw link in the Project Manager (figure 3.2) |
1.
The prompt to Download and Install Client appears (Figure 3.3) if
the Client is not already installed.
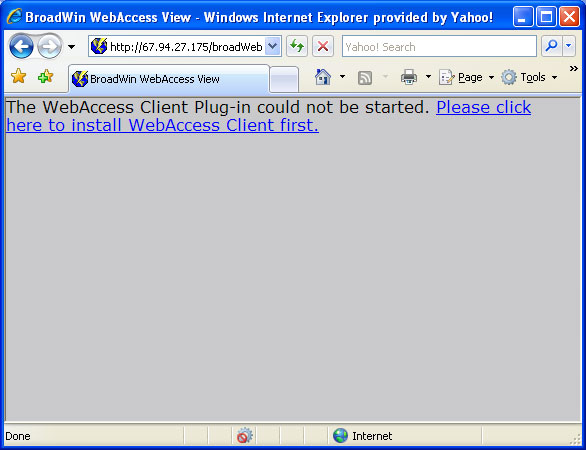
Figure 2.3 - Prompt to download and install WebAccess Client
You can also force a download from the "Download Plug-in Here" hyperlink on the default "Welcome" web page of WebAccess (bwRoot.asp).
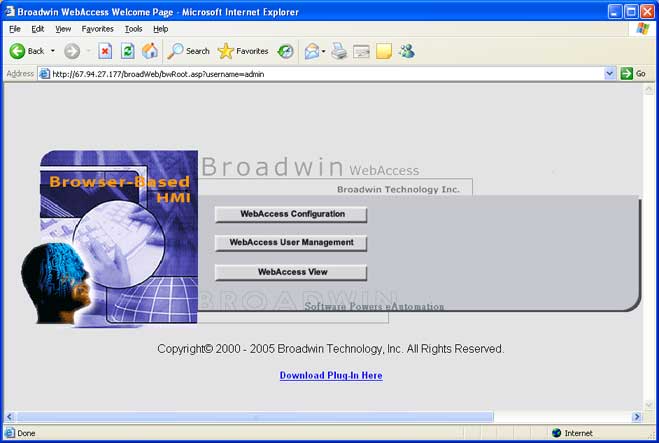
Figure 2.3b - Links to force download and install WebAccess Client from Welcome page (bwRoot.asp)
2. Click on "Please click here to install WebAccess Client" (figure 2.3) or "Download Plug-in Here" (figure 2.3b).
3. Windows File Download Dialog Box appears (figure 2.4)
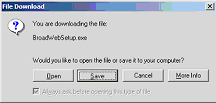
Figure 2.4 - Windows 2000 File Download dialog box
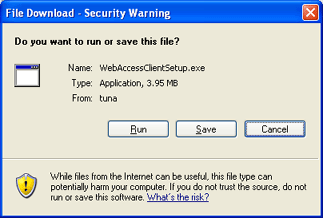
Figure 2.4b - Windows XP File Download dialog box
4. Select Save (figure 2.4 or 2.4b )to save Setup.exe to disk.
5. The Windows Save As Dialog Box appears (figure 2.5)
We recommend that you save to Disk unless you have a very fast Internet Connection. We also recommend that you save to Desktop, so that you can find the Setup.exe program easily in order to run Install.
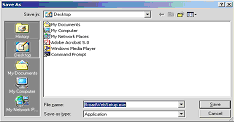
Figure 2.5 - Windows 2000 Save As Dialog Box
6.
Select the Desktop ![]() as location to Save the Setup file.
as location to Save the Setup file.
7. Select Save button (figure 2.5).
8. Download Dialog Box Appears (figure 2.6)
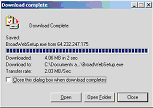
Figure 2.6 - Windows Download dialog box
How long it takes to download the Client Plug-in depends on your Internet connection. The file is approximately 4 Megabytes
9.
Select the Close button ![]() to close the Download Dialog Box, if it did not
close automatically (figure 2.6).
to close the Download Dialog Box, if it did not
close automatically (figure 2.6).
Tip - If you select Open, it will start the Setup.exe (the same as step 1 of Run WebAccess Setup)