Configure PC station |
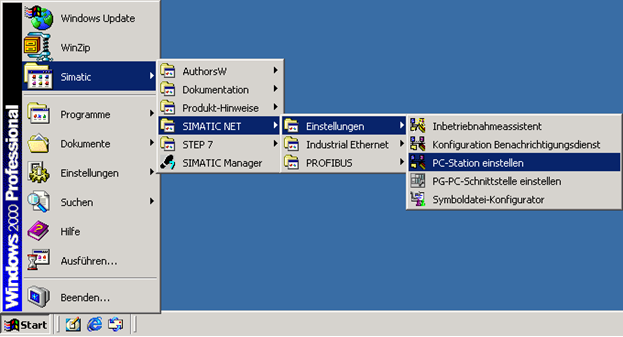
START -> SIMATIC -> SIMATIC NET -> Settings -> Configure PC station

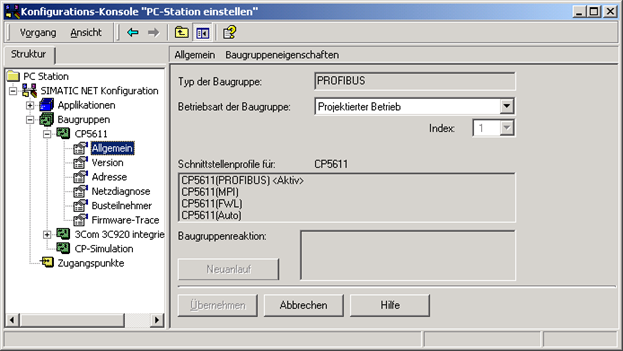
You can adjust all settings via the configuration console.
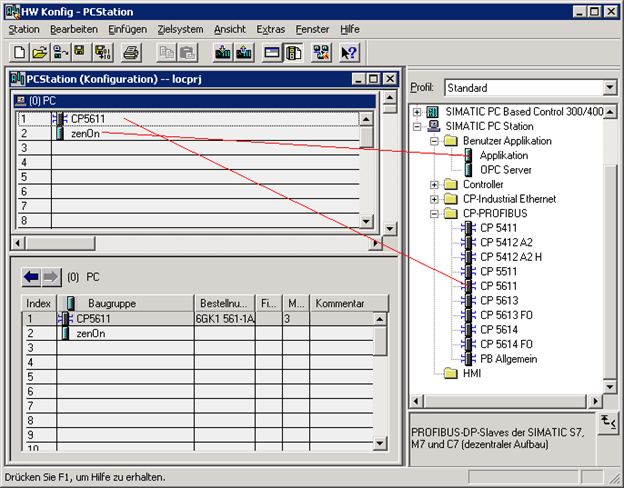
All available assembly groups and access points will be displayed.
Important: The operation type of the assembly group must be set to "Configured operation" !
The index matches the index displayed in the component configurator.
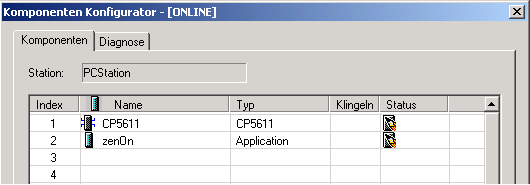
Open the component configurator.
Click "Add..." in the component configurator to create the application. In this case, the application was called "zenon".
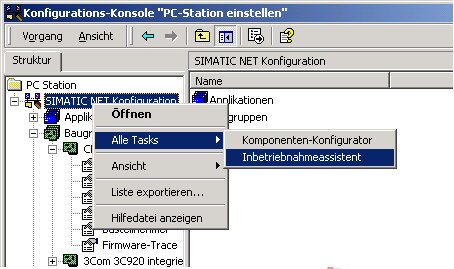
Start the startup assistant
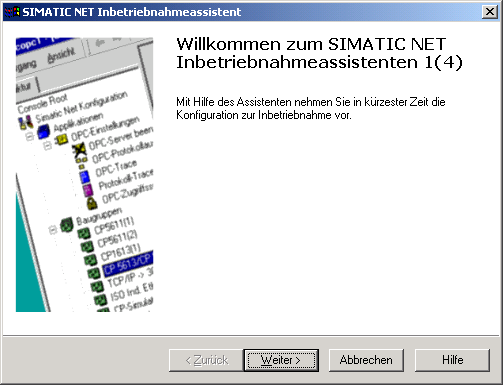
Startup assistant 1/4
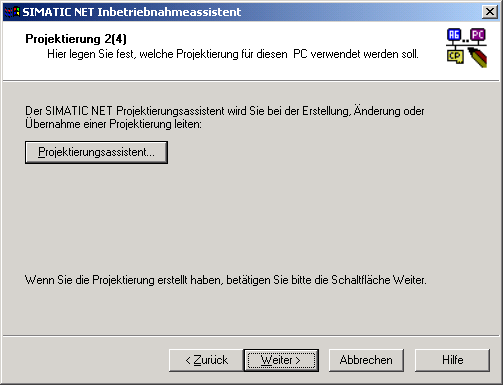
Startup assistant 2/4
Make all further settings with the configuration assistant.
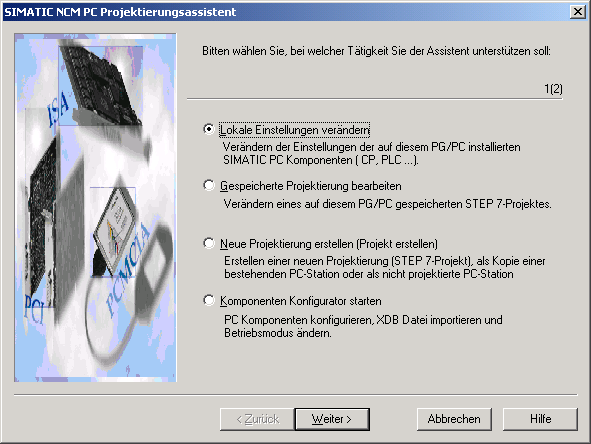
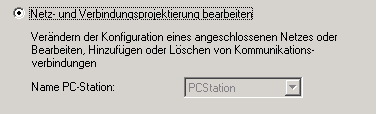
Use the option "Change local settings" to continue with the configuration.
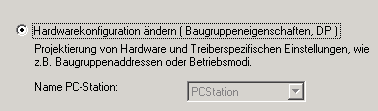
First you will define the hardware configuration.
Insert components
Please follow the right sequence! See component configurator.
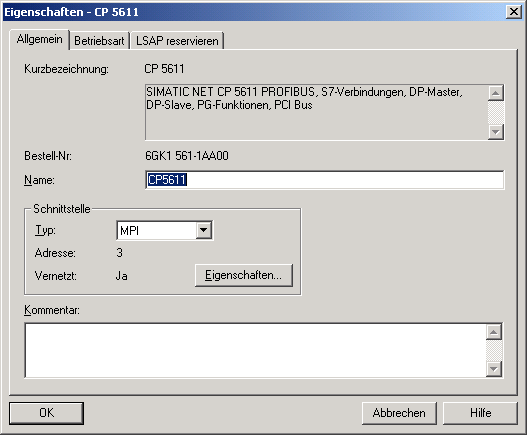
Properties of the CP5611
Now change the type of the interface to MPI.
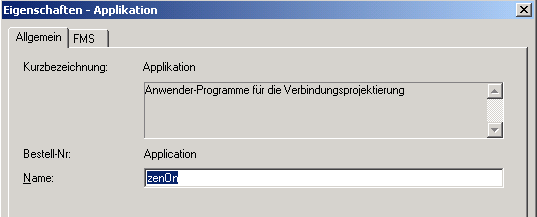
Properties of the application
You will find the same name in the component configurator. Also enter this name in the driver configuration under "VFD names:" . (Case sensitive!)
After making these settings, select "Save and translate" in the menu "Station". Now you can transfer the data to the assembly group. Use the menu item "Target system" and "Load to assembly group...". After that, you can exit the program HW config - PC station
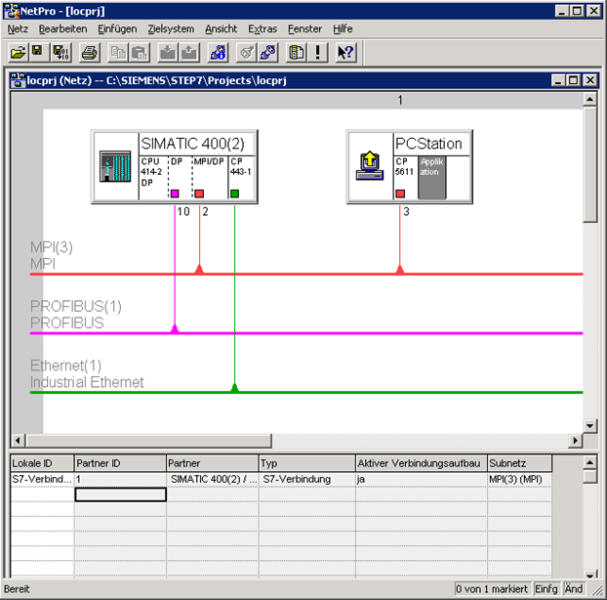
Now you have to continue with the configuration of the connections.
Use the program Netpro to configure your network.
|
|
|
The S7 is also configured with the program HW config. |
Now connect the assembly groups with the MPI bus.
|
|
|
Change the baudrate at the MPI bus. First you should change the baudrate of the stations with the program HW config and then transmit it to the stations. |
The connection table will only be visible if you select an assembly group that is capable of connections. In this case either "Application" at the PC station or "CPU 4414-2 DP" at the SIMATIC 400(2).
Now create a new connection in the table.
After making these settings, select "Save and translate" in the menu "Net". Now you can transfer the data to the assembly group. To do so, select a station and then select the menu item "Target system" "Load">"Marked and partner stations". Then exit the program Netpro.
Now finish the startup by following the dialogs of the startup assistant.
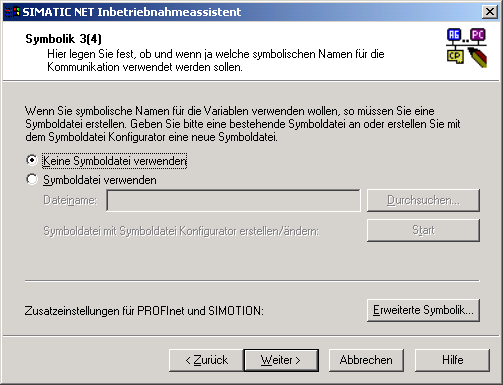
Startup assistant 3/4
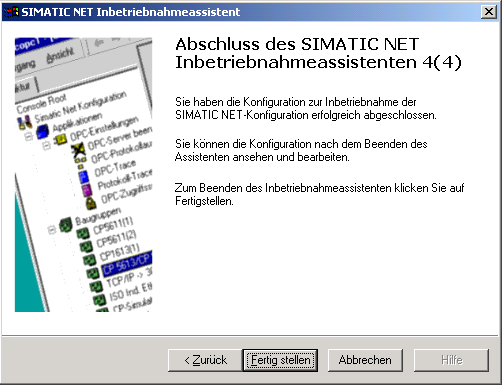
Startup assistant 4/4
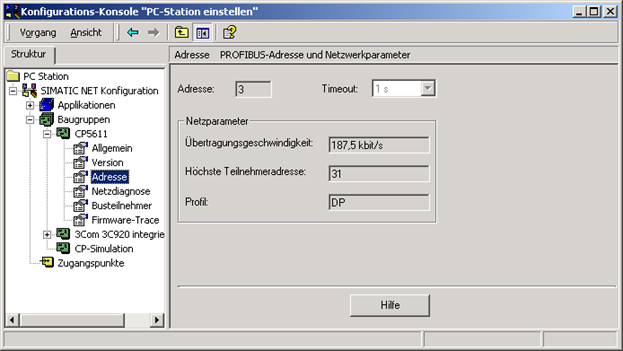
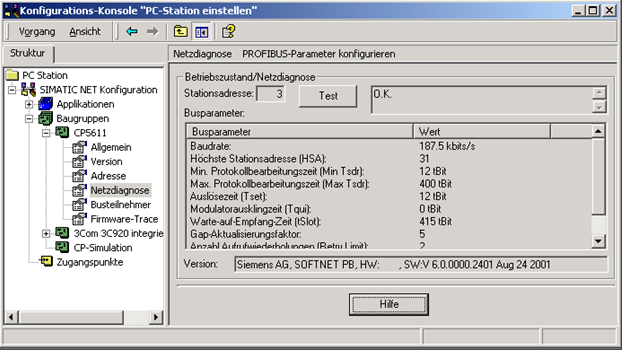
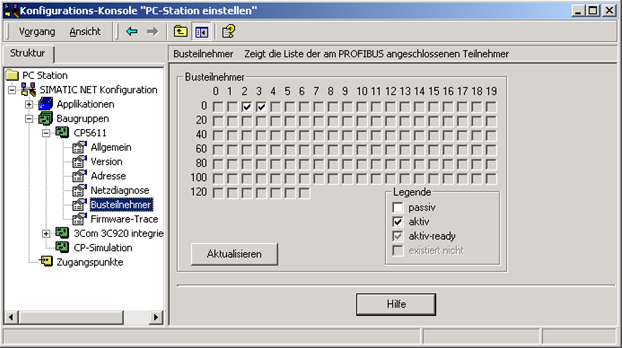
Now you can test the assembly group with the program "Configuration console"
Check the baudrate and MPI address.
The configured bus participants must be displayed as well.
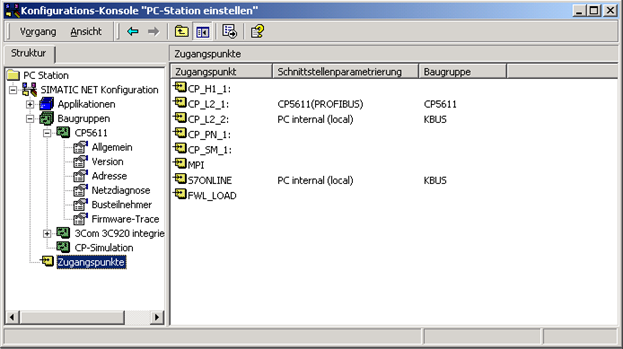
Use the access point "CP_L2_1:" in the driver configuration of the S7_NT driver of zenon.