In order to save IWS project security rights back to a Domain (LDAP) server, the server's LDAP schema must be extended to contain the additional information.
The server must already be configured and running on your network, and you must have sufficient privileges to make changes to the server configuration.
In this procedure, you will create a new attribute called "proprietarySCADAInfo" to contain the IWS project security rights, and then you will add the attribute to the "person" and "group" classes in the server configuration. These classes correspond to users and groups in the project security system.
Please note this procedure only shows how to extend the schema in Microsoft Active Directory running on Windows Server 2003. The exact procedure is different for other LDAP servers and operating systems, but the basic steps should be essentially the same. Please consult your LDAP server documentation.
- Register the schema
management DLL.
- Click . A Command Prompt window is displayed.
- At the prompt, type cd %SystemRoot%\System32 and then press Return. The working directory is changed.
- Type regsvr32 schmmgmt.dll and then press
Return. If the DLL is successfully registered, then a
confirmation message is displayed.

- Click OK to dismiss the message.
- Close the Command Prompt window.
- Add the Active Directory
Schema snap-in to the console root.
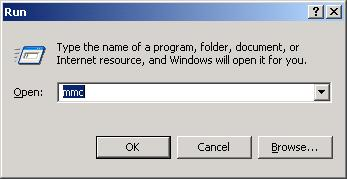
- Click . A Run dialog is displayed.
- In the Open box, type mmc, and then click OK.
(If you have User Access Control (UAC) enabled, then you will be asked if you want to allow Microsoft Management Console to make changes. Click Yes.) A console window is displayed.
- In the console window,
click .
The Add/Remove Snap-in dialog is displayed.
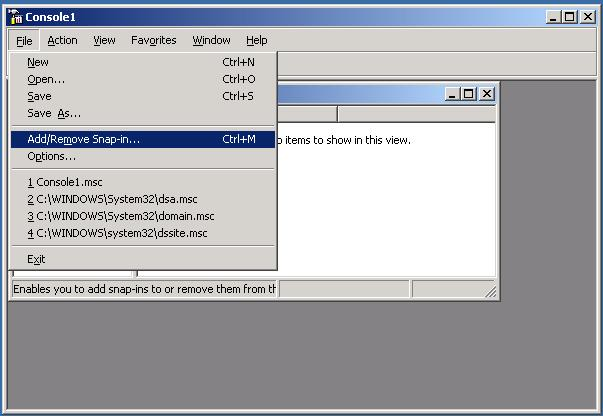
- In the Snap-ins added to list, select Console Root, and then click Add. The Add Standalone Snap-in dialog is displayed.
- In the list of
available snap-ins, select Active
Directory Schema, and then and click Add.
The snap-in is added to Console Root.
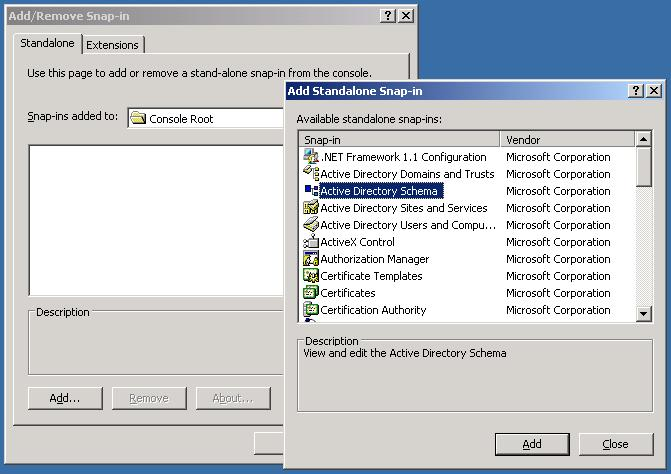
- Click OK to close the Add/Remove Snap-in dialog.
- Create the
proprietarySCADAInfo attribute in the Active Directory Schema
snap-in.
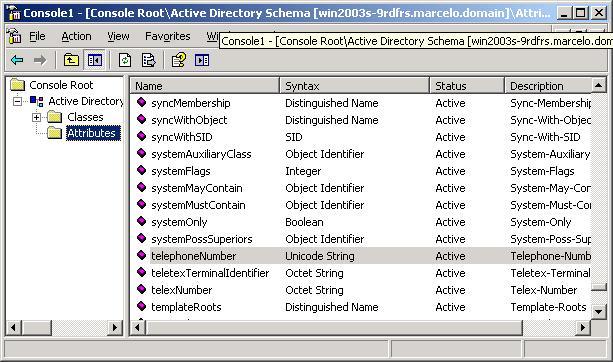
- In the Console Root tree-view, expand Active Directory Schema.
- Right-click , and then click Create Attribute on the shortcut menu. A message is displayed explaining that your schema will be permanent changed.
- Click Continue. A Create New Attribute dialog is displayed.
- In the dialog, complete
the fields as follows.
- Common Name: proprietarySCADAInfo
- LDAP Display Name: proprietarySCADAInfo
- Unique X500 Object
ID: 0.7.7777.77777777.777.7.7
Note: An unique Object ID should be used.
- Description: proprietarySCADAInfo
- Syntax: Octect String
- Minimum: 0
- Maximum: 10240
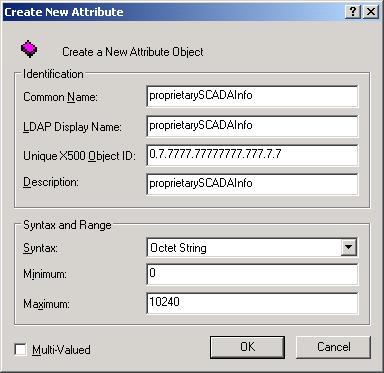
- Click OK to close the dialog.
- In the Console Root tree-view, expand Active Directory Schema.
- Add the
proprietarySCADAInfo attribute to the person and group classes.
- In the Console Root tree-view, select
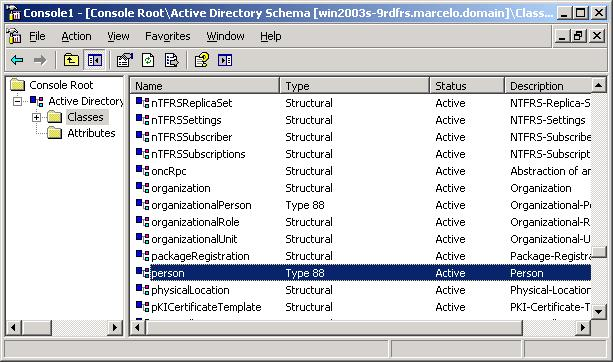
- In the list of classes, right-click person, and then click Properties on the shortcut menu. The Properties dialog is displayed.
- In the dialog, click
the Attributes tab.
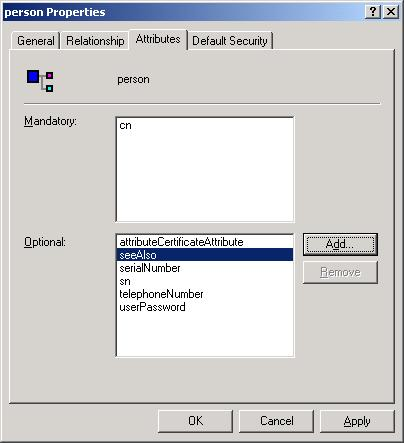
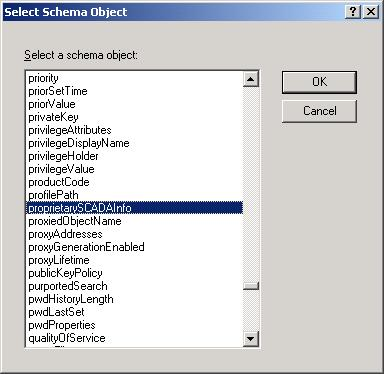
- Click Add. The Select Schema Object dialog is displayed.
- In the list of schema
objects, select proprietarySCADAInfo, and then click
OK.
The attribute is added to the class properties.
- Click OK to close the Properties dialog.
- Repeat steps b through f for the group class.
- In the Console Root tree-view, select
- In the Console Root tree-view, right-click Active Directory Schema, and then click Refresh on the shortcut menu.
- Click to close the console window.
- Restart the server.