
If you have not already done so, connect to the Project Node and Start WebAccess Configuration. Select your Project and Open Project Manager.
1.
Select the SCADA Node under your Project Name in the Project/Node
list.

Figure 3.1.6.1- SCADA Node Main page (Main.asp) - Download
2. Select Download
3. The "Confirm Download" dialog Box opens.
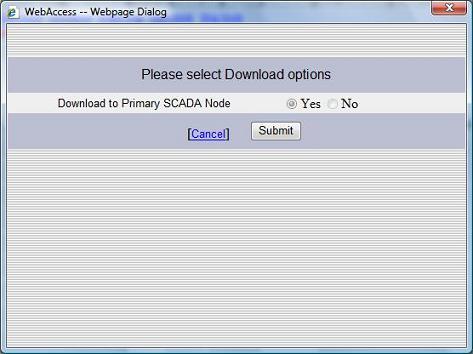
Figure 3.1.6.2 - Confirm Download to SCADA Node
4. Confirm that "Yes" is selected. Then click on "Submit"
5.
The Download Dialog Box pops open
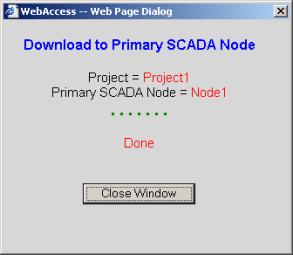
6. When download is Finished, select Close Window.
7. If this is a newly created project or the SCADA node was not running before the download, then you will have to Start the node.
From Project Manager Select Start node (Figure 3.1.6.1).
8. The "Confirm Start" dialog Box opens.
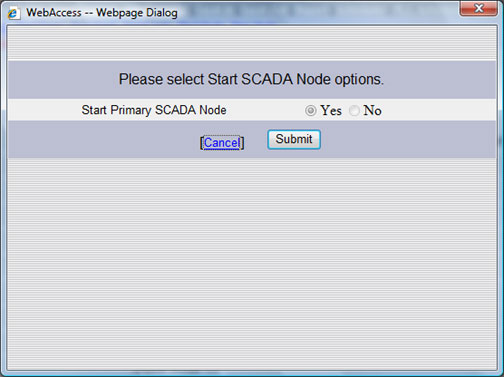
9. Confirm that "Yes" is selected. Then click on "Submit"
10.
The Start Node Dialog Box pops open.
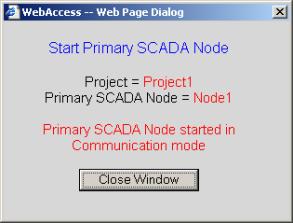
11. When Node is Started, select Close Window.
12.
Select Start View
(Figure 3.1.6.1).
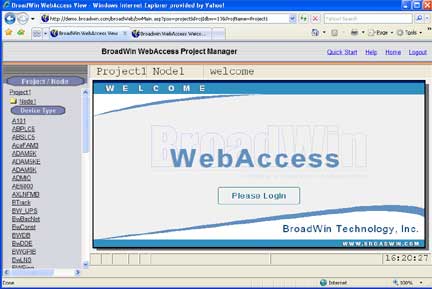
9. Welcome to WebAccess Login appears
10. Select Please Login
11. The User Login Dialog Box Appears
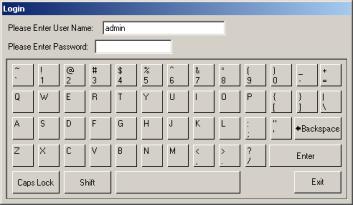
12. Enter Username:
admin
and no Password:
13. The default Main Graphic Display appears
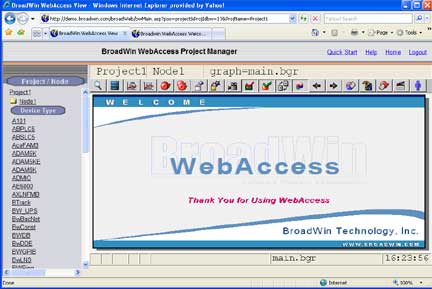
CONGRATULATIONS! You have installed, created, configured, downloaded and started a WebAccess project.
If you have not already installed the
Client you will see a message:
"Please Click here to install
WebAccess Client first".
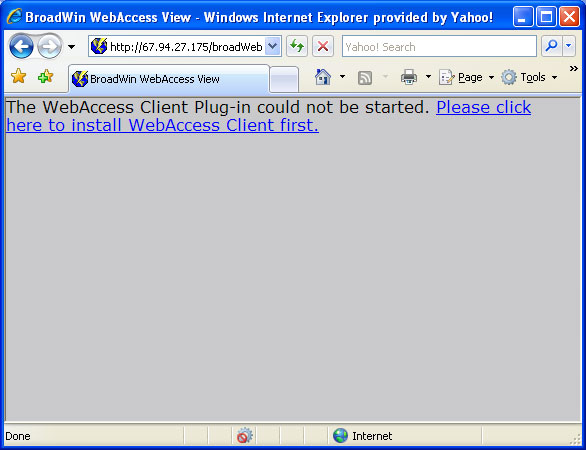
Figure 3.3 - Prompt to download and install WebAccess Client
If you get his message, just follow the steps to download and install the client. If you need more information about downloading and installing the client plug-in, please refer to section 2.2.1 Client Plug-in download from Project node.
The steps so far have been to test out your software installation, there are many steps not yet completed in building a real automation project: configuring Com Ports, Devices, Tags and building graphics are the next steps.
See the Quick Start Manual for a quick guide to building tags and graphics.
See the Engineering Manual for a complete Guide to using WebAccess.