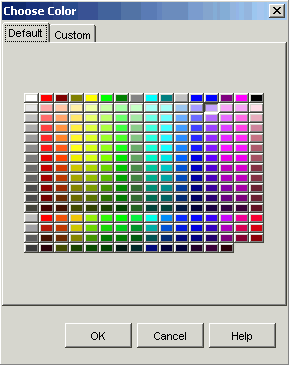
The Choose Color window is used for all objects; however, some objects, such as charts or grids have several options for choosing colors. For example, on a chart, you may select a specific color for the chart background or an axis. In these cases, you would select the Choose Color window from the object's configuration dialog box. The Choose Color window may have a different title depending on the item you are changing (e.g. when you select a new chart color, the window is called Chart Color); however, the window is the same for every option.
Select the object you want to modify.
Right-click the object and select Color (for simple objects such as shapes).
The Choose Color window appears.

Select the color you want to use, or select the Custom tab to define/select a custom color. See To define a custom color for more information.
Click OK to apply your selection to the object.
If you have not already done so, on the Choose Color window, select the Custom tab.
If you want to select a custom color that is pre-defined, click the color's name and click OK.
- or -
If you want to create a new custom color:
On the Custom tab, click the Add button
![]() .
.
A new row appears at the end of the colors list.
To change the name of the color, click the
![]() button to place the focus in the name column, click on the
name and change the text as required.
button to place the focus in the name column, click on the
name and change the text as required.
To customize the color, click the ellipsis button for the custom color.
Three new tabs appear: Swatches, HSB, and RGB. You can select a color on the Swatches tab and click OK, or use the HSB and RGB tabs to further define the exact color you need.
NOTE: When you define a custom color, it is available for use with all objects.