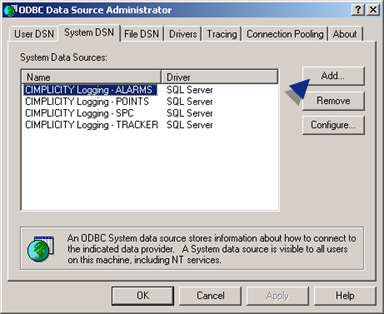
Select the System DSN tab.
Click .
Choose SQL Native Client.
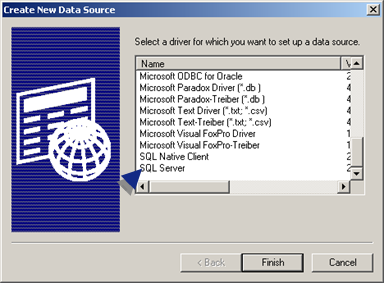
Click .
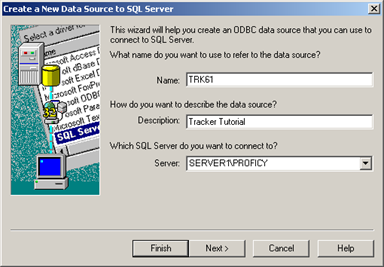
Enter the following in the Create a New Data Source to SQL Server dialog box.
|
Name |
TRK61 |
|
Description |
Tracker Tutorial |
|
Server |
(local) or a SQL database that has been assigned to this project, e.g. computer name\CIMPLICITY. |
Click .
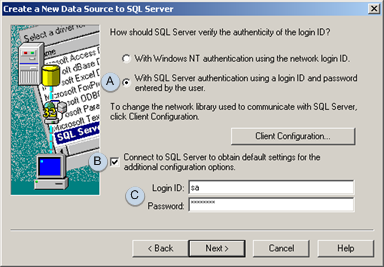
Do the following for the Login:
|
A |
Check With SQL Server Authentication using a login ID and password entered by the user. |
|
B |
Check Connect to SQL Server to obtain default settings for the additional configuration options. |
|
C |
Enter the Login ID and Password required by your SQL database. |
Click to move through the following dialog boxes until the ODBC Microsoft SQL Server Setup dialog box displays.
Test the data source to verify the connection to the database.
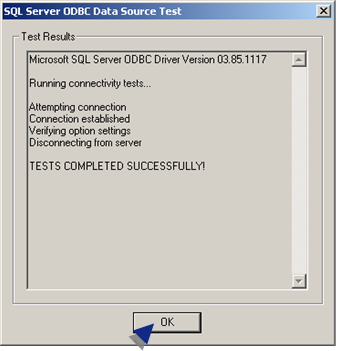
Click .
Click to close the ODBC Data Source Administrator dialog box.
Result: The ODBC Data Administrator closes and the TrackerCfg_UI displays two folders.
You will work in both during this tutorial.
|
|