The security system configuration wizard helps you through the steps of configuring the project security system.
- Start the wizard.
- If you are configuring the security system
for the first time, then the wizard will start automatically when
you do one of the following:
- On the Project tab of the ribbon, in the Security tab, click Configure; or
- In the Global tab of the Project Explorer, right-click Security and then click Settings on the shortcut menu.
Note: After the first time, doing one of these will open the Security System dialog instead. - If you have already configured the security system, click Configure on the ribbon to open the Security System dialog and then click Run Wizard.
Figure 1. Security System Configuration Wizard
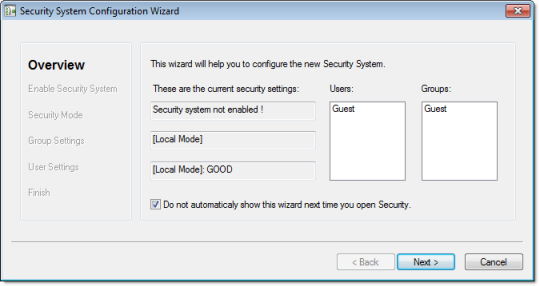
This page always shows how the security system is currently configured.
- If you are configuring the security system
for the first time, then the wizard will start automatically when
you do one of the following:
- Click Next. The second page of the wizard is
displayed.
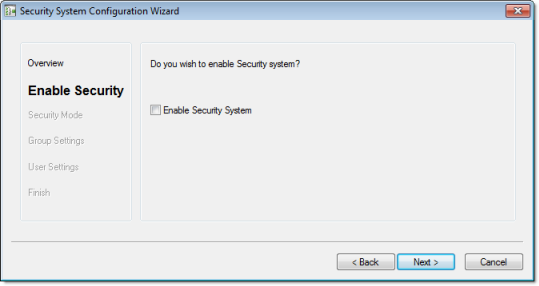
- Select Enable Security System.
- Click Next. The third page of the wizard is
displayed.
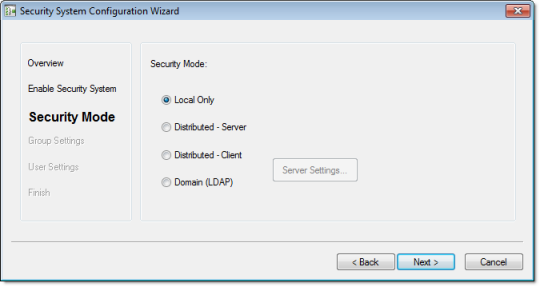
- Select the security mode.
- For Distributed – Client and Domain (LDAP), click Server Settings and then configure the settings as needed.
- Click Next. The fourth page of the wizard is
displayed.
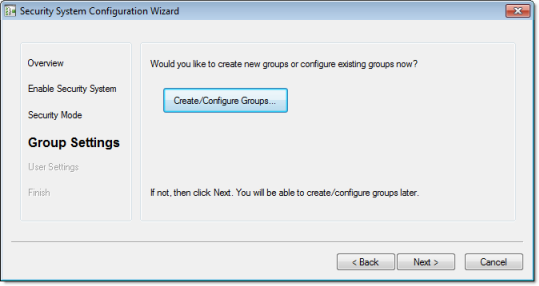
- If you need to create or configure groups, click Create/Configure Groups. The Group Account dialog is displayed. When you're done with that dialog, it will automatically return to the wizard.
- Click Next. The fifth page of the wizard is
displayed.
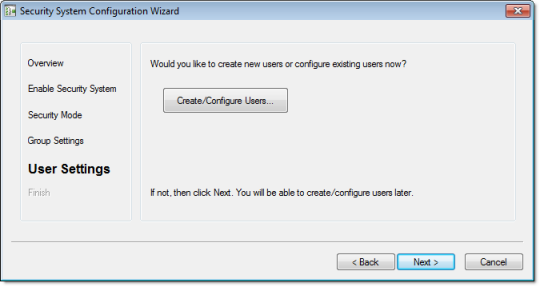
- If you need to create or configure users, click Create/Configure Users. The User Account dialog is displayed. When you're done with that dialog, it will automatically return to the wizard.
- Click Next. The sixth page of the wizard is
displayed.
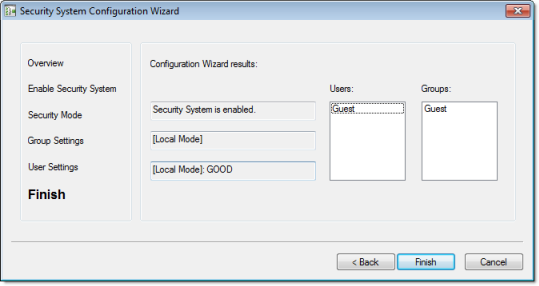
- Review your configuration, and then click Finish to close the wizard.