The New command on the Application menu is used to create a new worksheet file or project.
The New dialog (see the following figures) contains two tabs:
- File tab: Select this tab to create new worksheets or screens for an open project.
- Project tab: Select this tab to create a new project.
Instructions for creating new files and projects follow.
Creating a New File
To create a new worksheet or screen:
- Click the File
tab.
Figure 1. New File tab
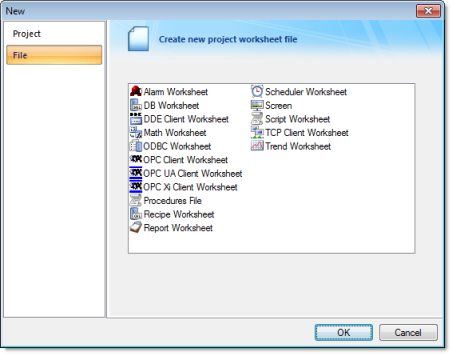
- Select Display or a Worksheet type from the list.
- Click OK.
The New dialog is closed and your selection is opened in the worksheet editor.
Note: When
you add an I/O driver to the project, an associated option allows
you to open a new
driver worksheet. You also can create new screens or worksheets
by right-clicking on the folder in the
Project Explorer and
selecting the Insert option from
the shortcut menu.
Creating a New Project
To create a new project:
- Click the Project
tab.
Figure 2. New Project tab
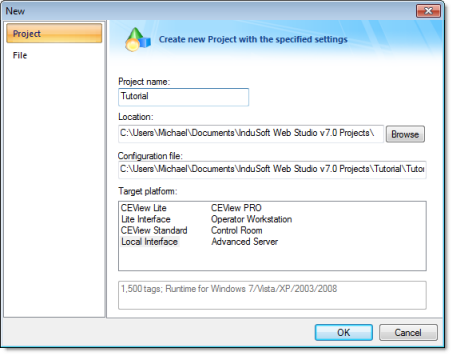
- In the Project name box, type a name for your project.
- By default, IWS stores all projects in the location specified by the Default Project Path preference (Preferences on the Project tab of the ribbon), so that path will be automatically displayed in the Location box. To save your project in another location, click Browse and then select a folder.
- Select a Target platform.
- Click OK to
continue to the Project
Wizard dialog.
Figure 3. Project Wizard

- In the Resolution box, select a screen resolution. If you select Custom, then also type the width and height in pixels.
- To share tags with another PC-based control application, select the application type from the list and click the Configure button. (Each type has its own configuration options; please consult the application vendor.) Otherwise, leave it set to <None>.
- Click OK when you're done.
For a more detailed walkthrough, see Creating a New Project.