|
Tracking Model Wizard. |
|
|
Region configuration steps. |
Tracking Model Wizard
Note: The Tracking Model Wizard facilitates setting up a Tracker project. You can also open the PRT Region Configuration dialog box by clicking Advanced>Regions in the TrackerCfg_UI left pane.
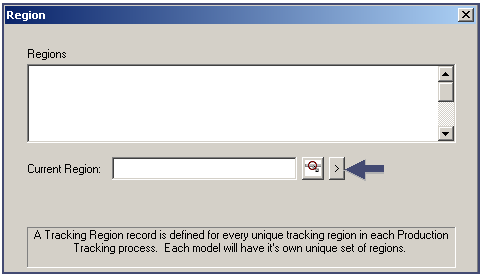
Once the Tracking Model Wizard is opened, configure regions in your Tracking Model using the PRT Region Configuration dialog box.
You must configure at least two regions to be able to continue to the next dialog box in the wizard.
Click ![]() to the right of the Current Region field in the Wizard's
Region dialog box.
to the right of the Current Region field in the Wizard's
Region dialog box.

Select New.
The PRT Region Configuration dialog box opens.
Region configuration steps
Note: Use these steps whether or not you use the Tracking Model Wizard.
|
Set general region parameters. |
|
|
Set advanced region parameters. |
|
|
Set out of sequence parameters. |
|
|
Set alarming options. |
|
|
Set logging options. |
|
PRT model configuration using the Tracking Model Wizard. |